Azure SAML Setup
Azure is one of many providers that act as a Identity provider. This guide shows you how to configure Azure to work with SAML v2 and Helpmonks to provide seamless single-sign-on.
Create an application
We don’t have an app that is featured in the Azure app gallery. Hence, you will need to add Helpmonks as application in Azure. Follow the steps below to add it now.
- Log into the Azure admin portal. In the upper-right corner, click on the services “hamburger icon” and selected “All Services” from the menu.
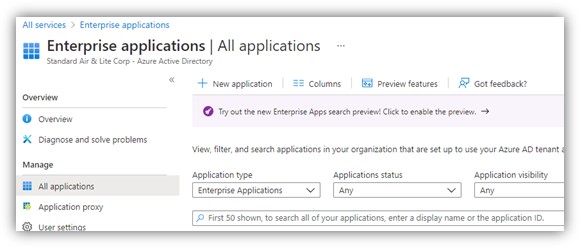
- In the services menu, search for “Enterprise Applications”.
-
In the Enterprise applications window, click on “New Application” from the action menu.
-
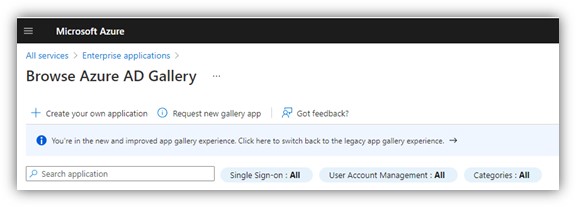
Click “Create your own application” on the next screen.
-
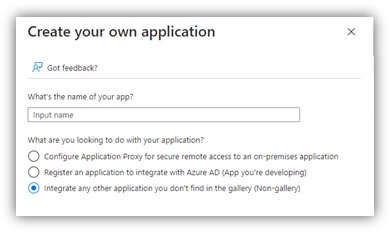
In the “Create your own application” setup dialog box, enter the name of the app as “Helpmonks” and leave the default settings for “What are you looking to do with your application?”” (default: “Integrate any other application you don’t find in the gallery (Non-gallery)”“).
-
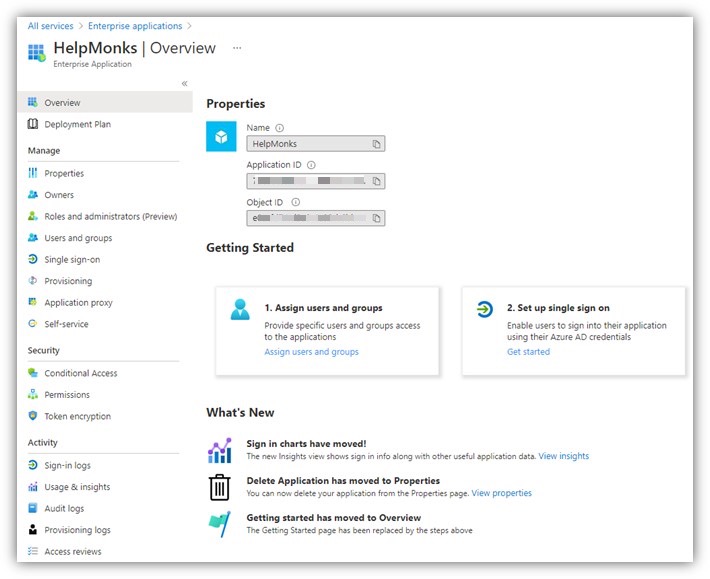
One the application is created, it takes you to the “Users and Groups” area where you need to assign at least one user to the application.
-
Then, you are taken to the “Single Sign-on” area under Manage. Here is the main menu and the overview page:
-
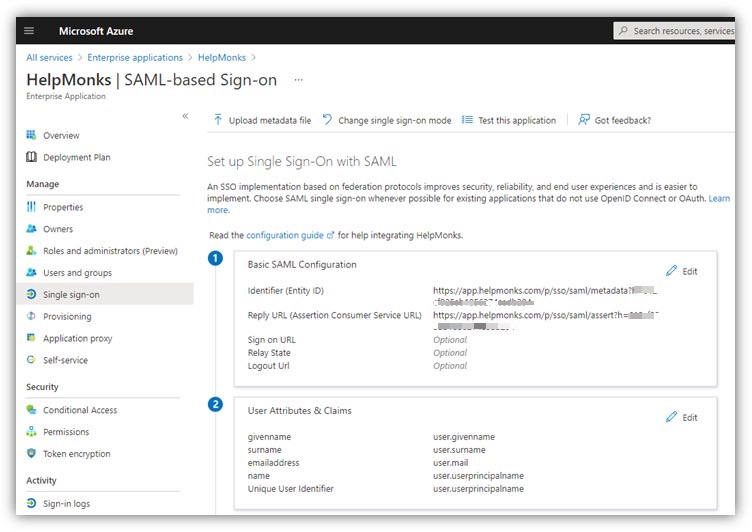
In the Single Sign-on settings page, edit the step 1 fields to enter the Helpmonks Entity ID and Assertion Consumer Service URL.
-
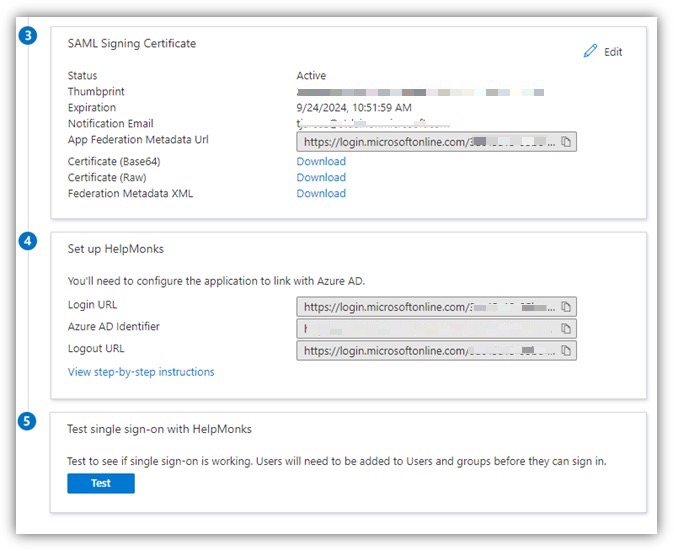
Lower down, the portal shows the Login and Logout URLs that you have to populate in Helpmonks SSO Plugin settings. Copy each one and paste them into the Helpmonks settings. Also, you can get the certificate from the Step 4 area. When you click on the Base64 download link, it downloads a file “helpmonks.cer”.
-
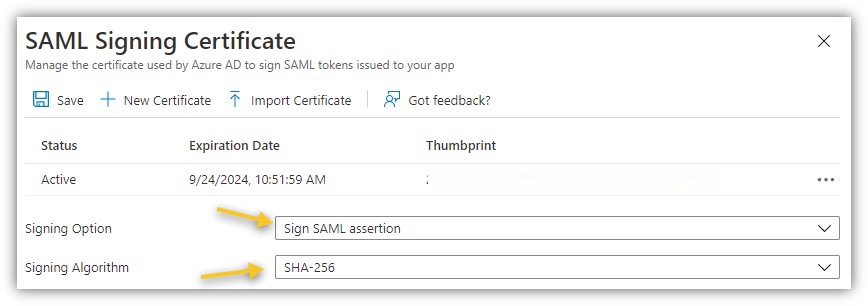
Finally, make sure that your “Signing certificate” settings are sett correctly as shown in the image below.
Finally test the SAML integration
Before testing that everything works, make sure you use a user and not an admin account.
If all is configured you can go back to Helpmonks and within the “SAML Settings” click on “Test login” to test the configuration.
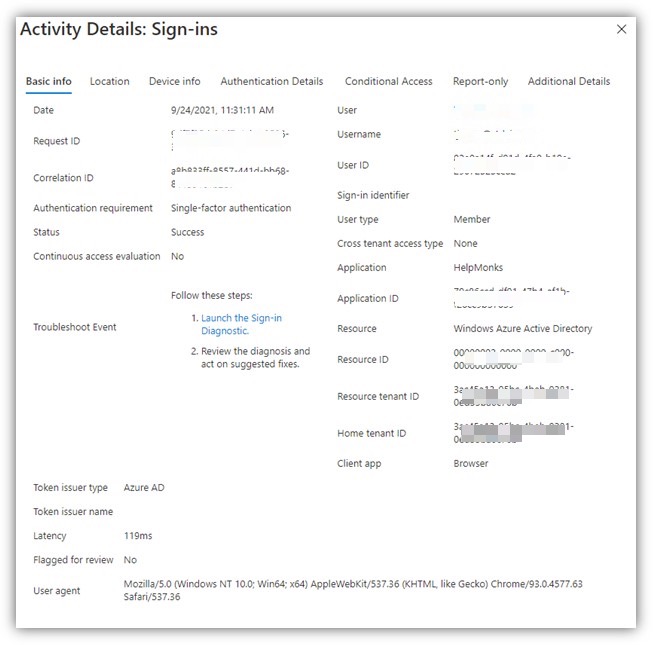
You can also check the “Activity Details” within Azure to make sure the SSO works as expected.